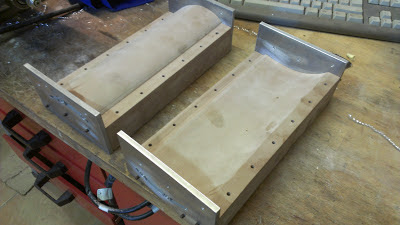
Since I have no autoclave available, a silicone mandrel will produce the pressure inside the wing structure during the cure. The design and processing of the wing is the same as for a real part, except I cannot use tubular vacuum bags in some cavities due to its size. Therefore, the pressure has to be created inside the cavities so it either has to be a rigid-removable mandrel or expansible mandrel.
Basically, I produced the patterns, composite tooling, silicone mandrel, and some of the foam cores and wooden cores. I used my CNC milling machine to make them all, which is quite a pleasant compared to my other models which had patterns produced by hand.
As I do want to keep it within a reasonable budget, I did not use prepreg. Instead, I used wet layup for all compsite parts, and will try to do the same for the component as well. Here are the pictures of the wet layup process:
The plates also have the drilling guidance holes to drill the CFRP inserts on the actual cured part for mounting onto the endplate.
This is the fabric being laid-up. It handles well, because it is impregnated feels like a prepreg with a very low resin viscosity. This step is performed on both patterns to obtain the top and bottom wing mould surfaces.
The mould surfaces are then polished to obtain a better cosmetic finishing on the wing surface. The polishing should be made to 1200 grid.


No comments:
Post a Comment